

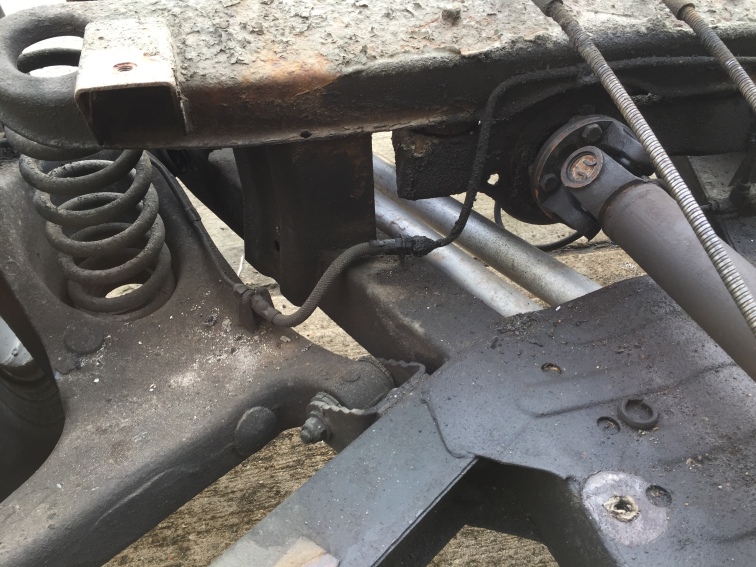
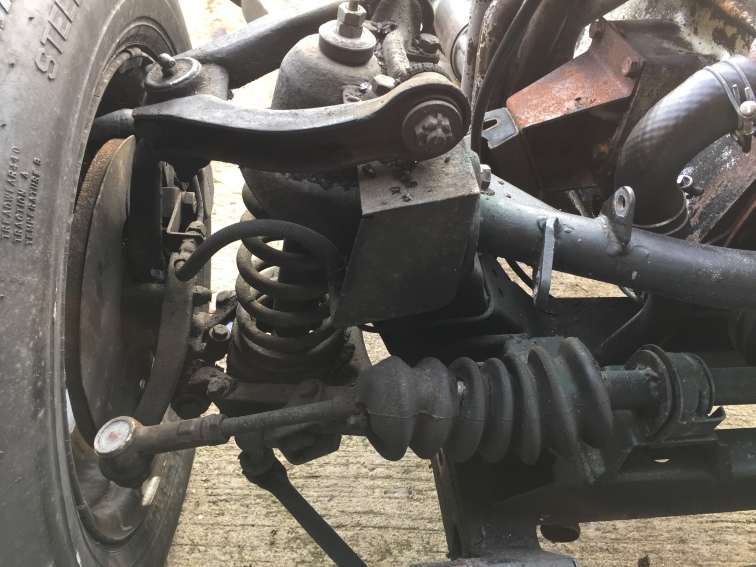
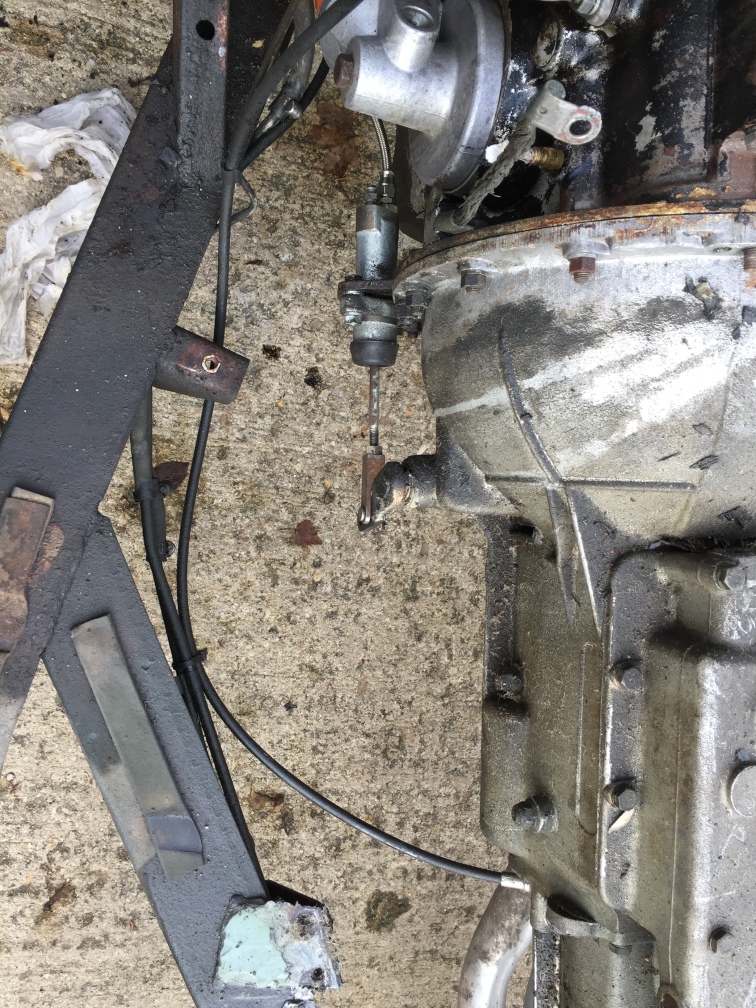
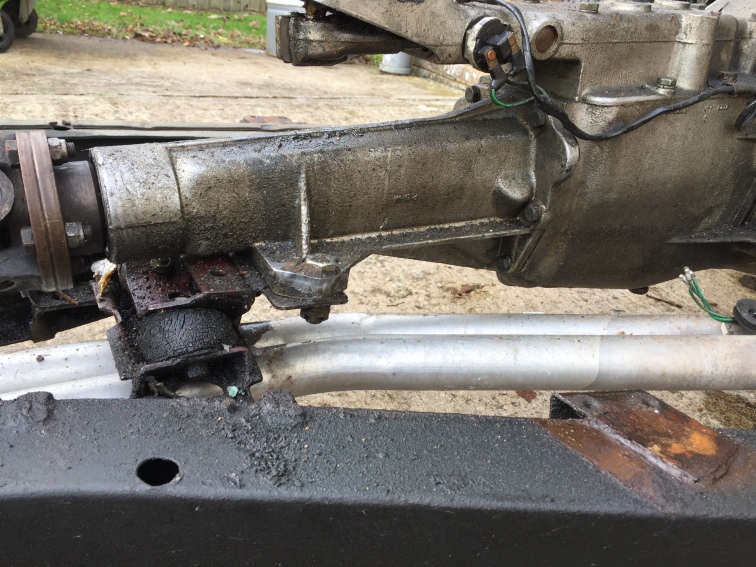
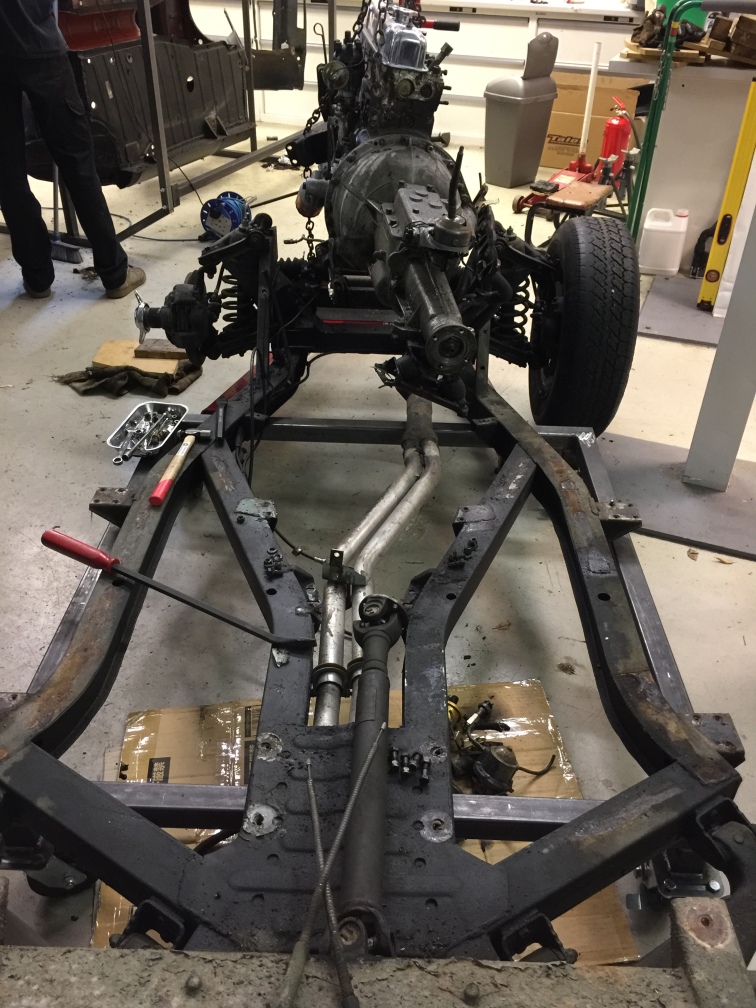
With the body finally off the chassis it was time to take a diversion from scraping off underseal and taking a look at the chassis. it looked curiously corrosion free (almost) when the car was on the lift, but now it was viewable from all angles it could be carefully checked out, not so easily as it was covered in thick sludge from years of engine and transmission oil leaks – which might be a blessing.
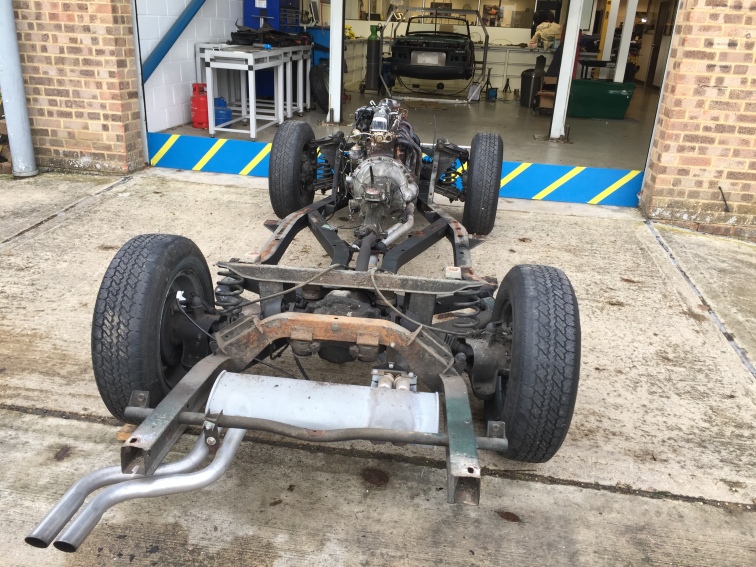
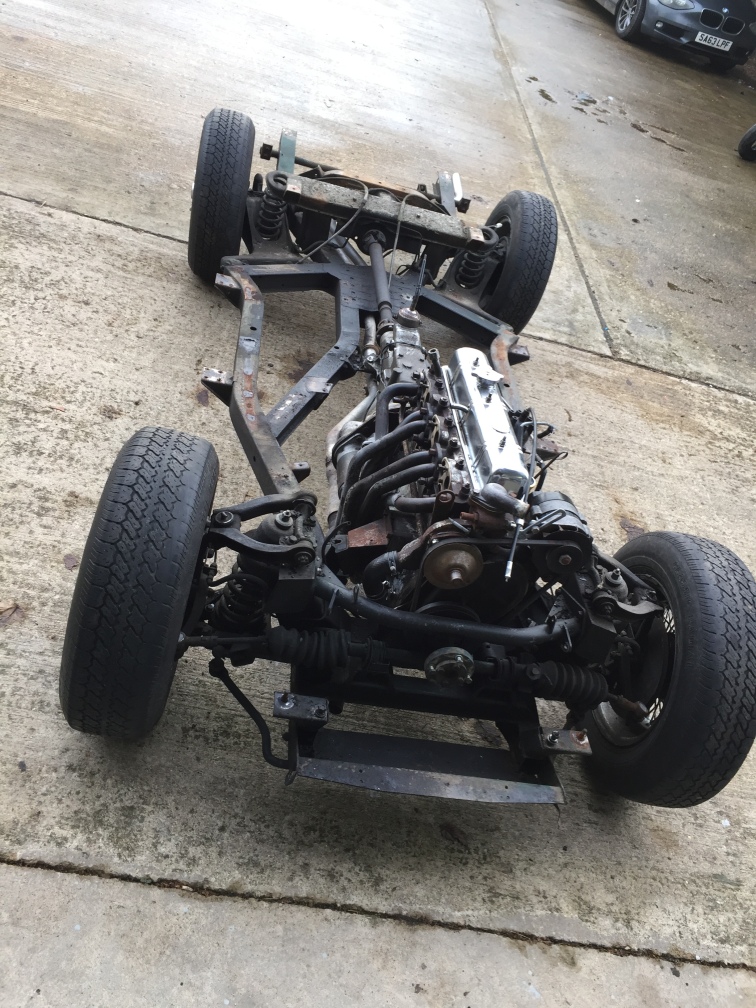
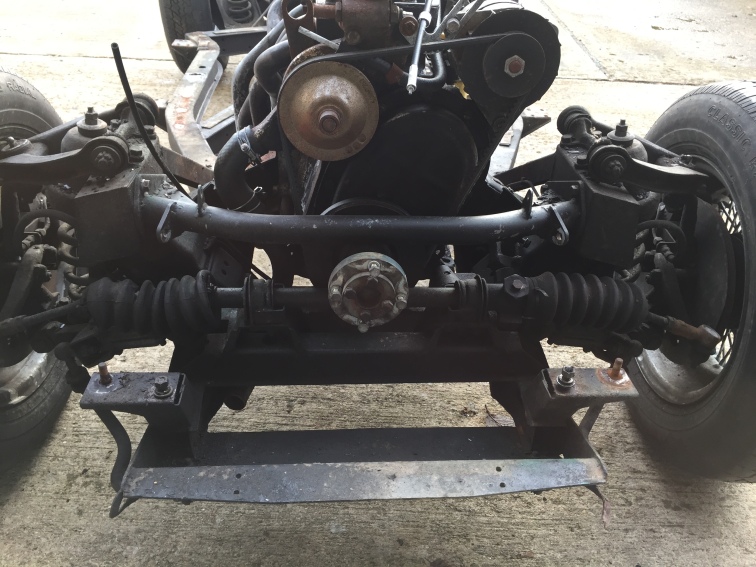
It was going to be necessary that the chassis was kept as a rolling chassis for Chris to be able to mount and jig the body during its repair, but I would be able to remove the engine and gearbox and diff. This would also provide more access for inspection purposes.
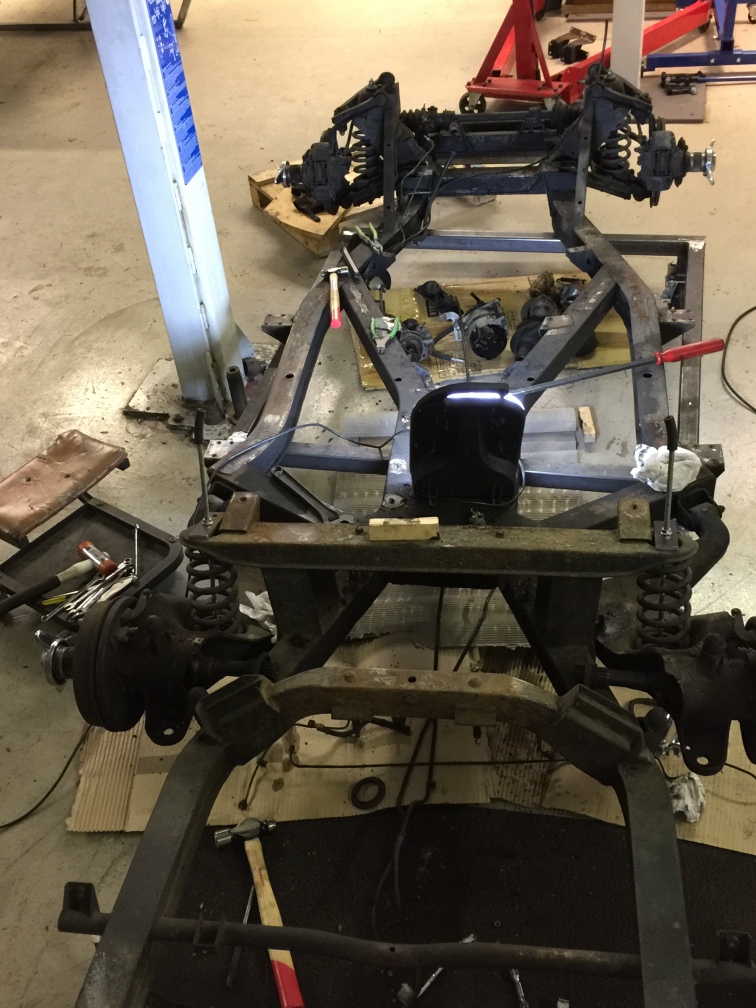
Here are some initial pictures of what the chassis looked like with the body removed:
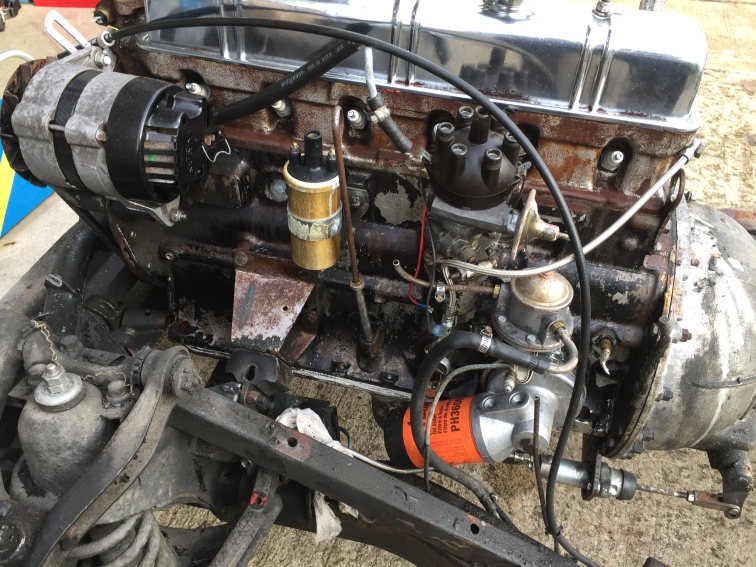
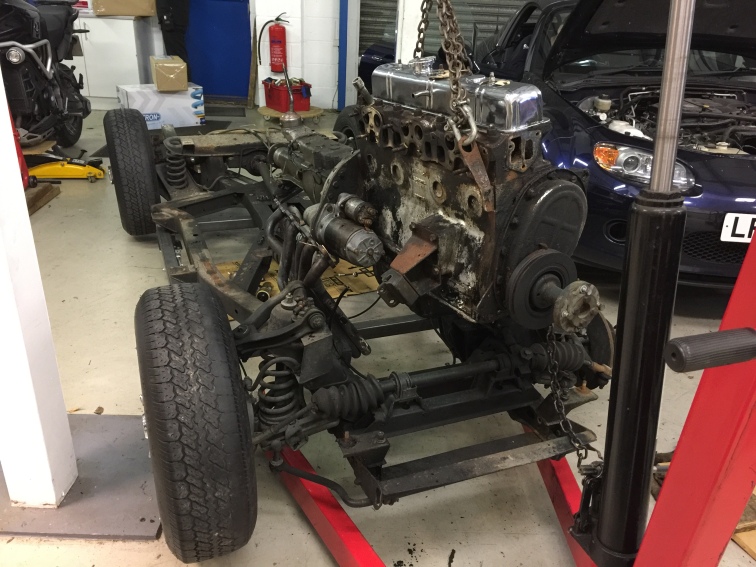
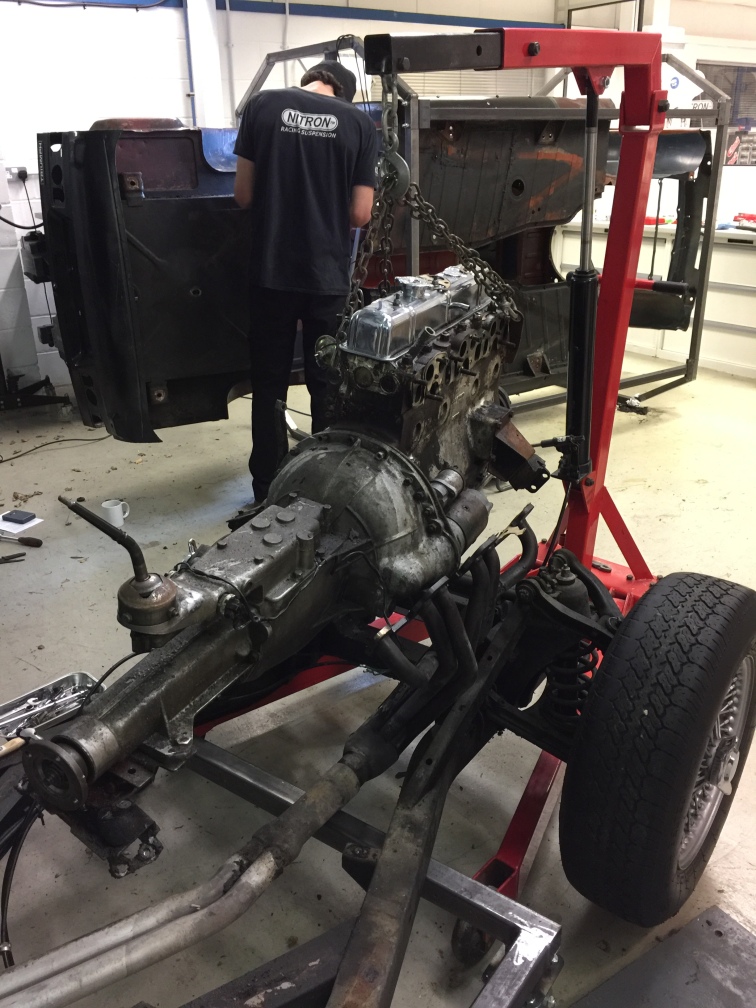
We thought we would weigh the engine / gearbox assembly just out of curiosity…
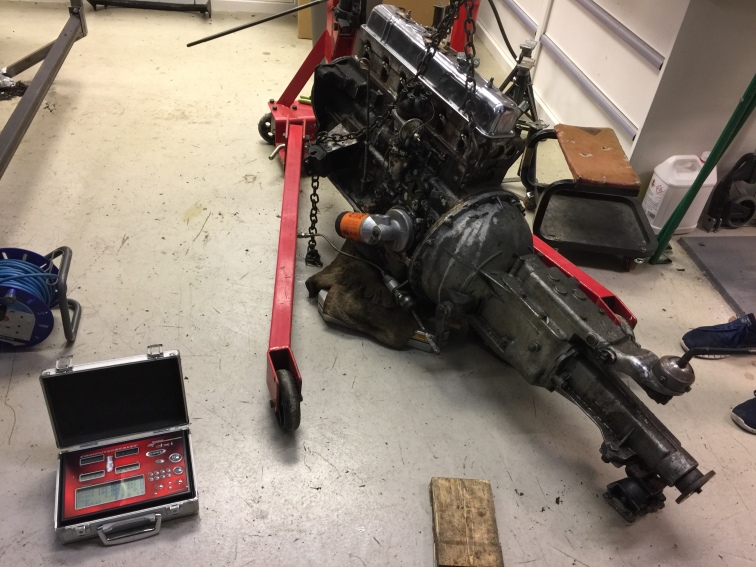
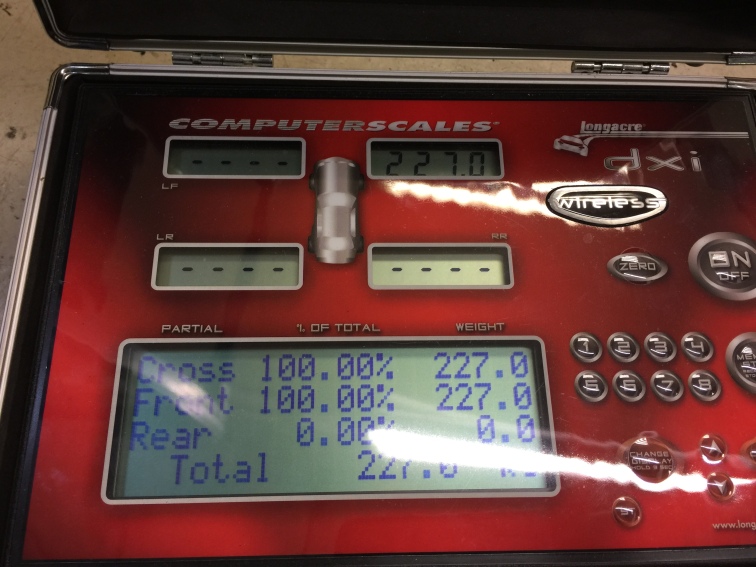
227kg is approaching 1/4 the weight of the vehicle wet, that shows how heavy this installation is. Add an induction system, cast exhaust manifold, water pump and housing, it would be well over 1/4 the all up weight.
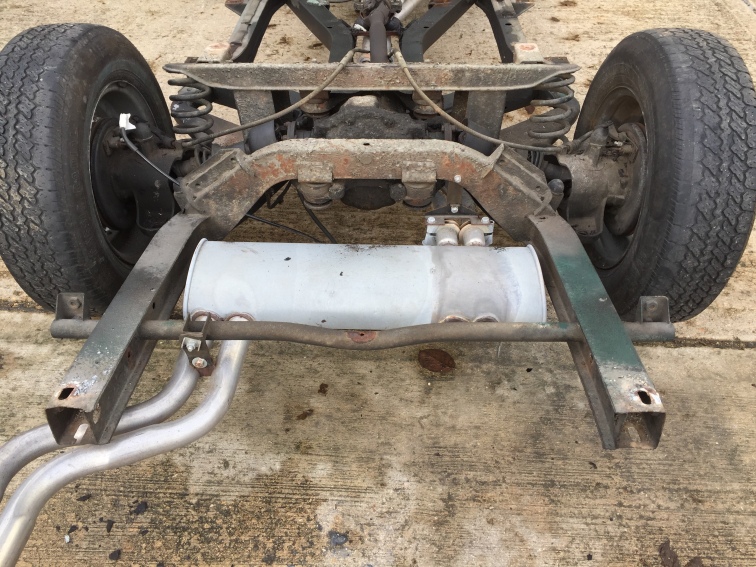
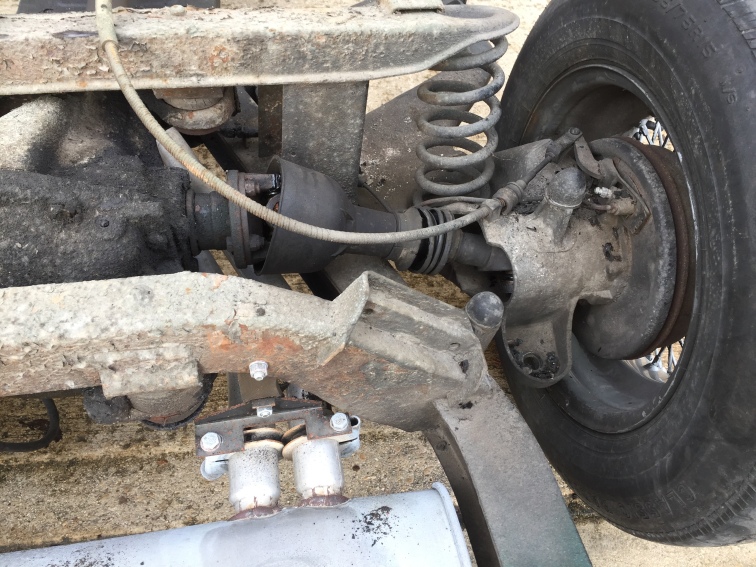
But… I digress. Back to stripping the chassis! With the engine and gearbox out, the rest of the parts could be removed even down to the calipers. All pipes, cables etc. will go, all to be replaced with new items so a good deal of cutting was carried out. Dirty work for sure, and it certainly helps to have quality tools…
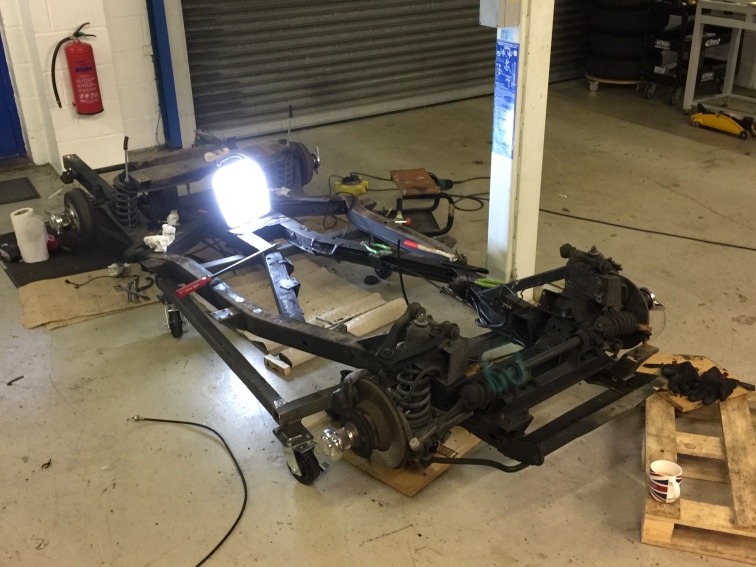
And the final result after a small amount of surface cleaning up for Chris to mount the body onto. Note the free-wheeling trolley we made so that we can move it about easily when it will be built up, or stored during various parts of the rebuild.
As Chris will be welding the new floors and sills with the bodyshell mounted to the chassis, he said don’t bother restoring it or even blasting it at this stage (unless it was rotten, which luckily it isn’t). We will clean the gunge off it before we sit the blasted and primed shell onto it of course before we take it down to him.
The engine stand has nothing to do with the chassis, it is just stored there while we wait for a laser cut 12mm steel plate to fit the side of the block to the stand via the normal side engine mount.

