

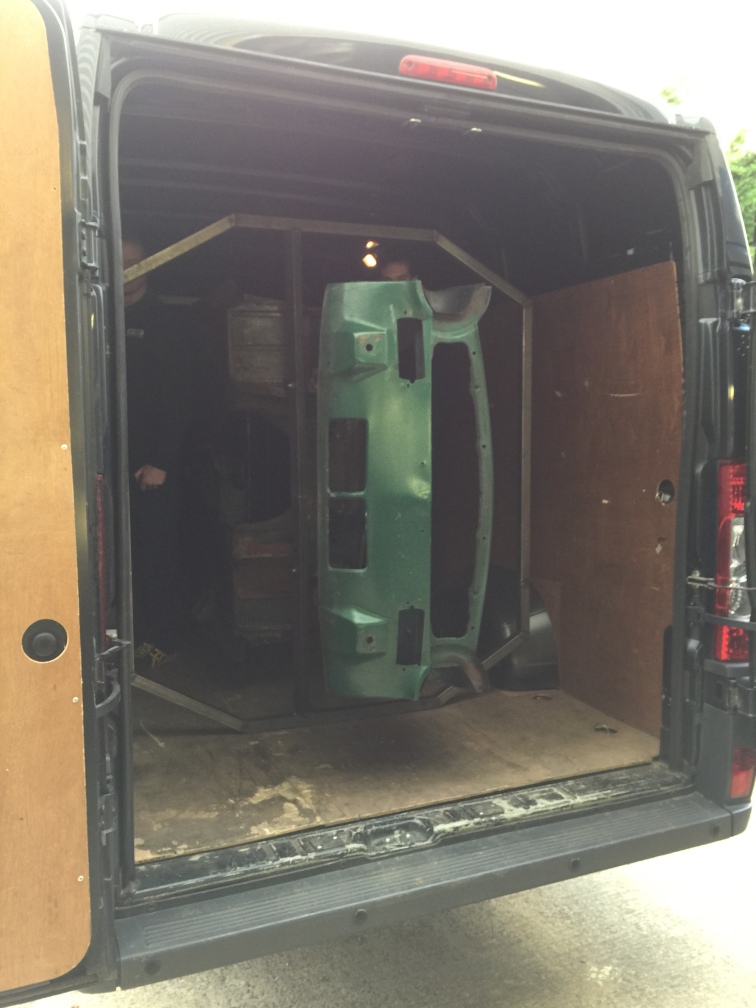
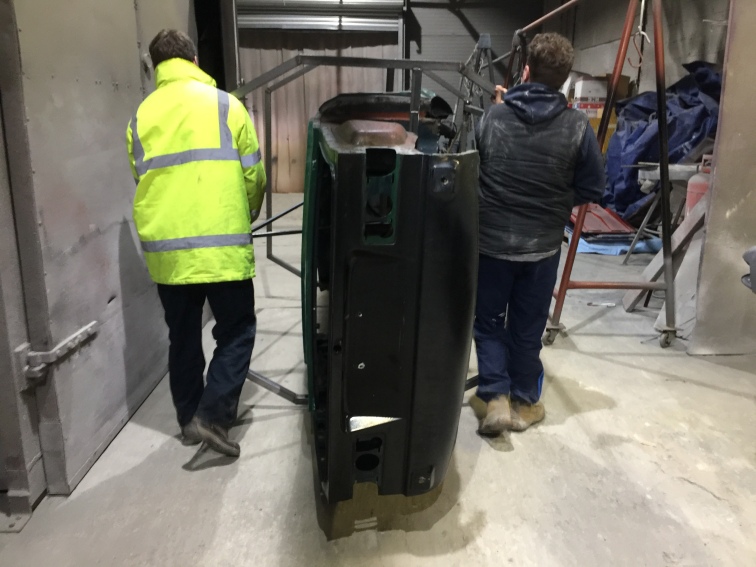
So finally some real progress. Actually, with Christmas abroad followed by the Autosport Show, I have been pretty busy and off the car project, but I finally managed to get a date from Luke at De-corrosion Services. The shell fitted perfectly into the van on its frame, so this was taken down first, followed by the rest of the panels in a second run.
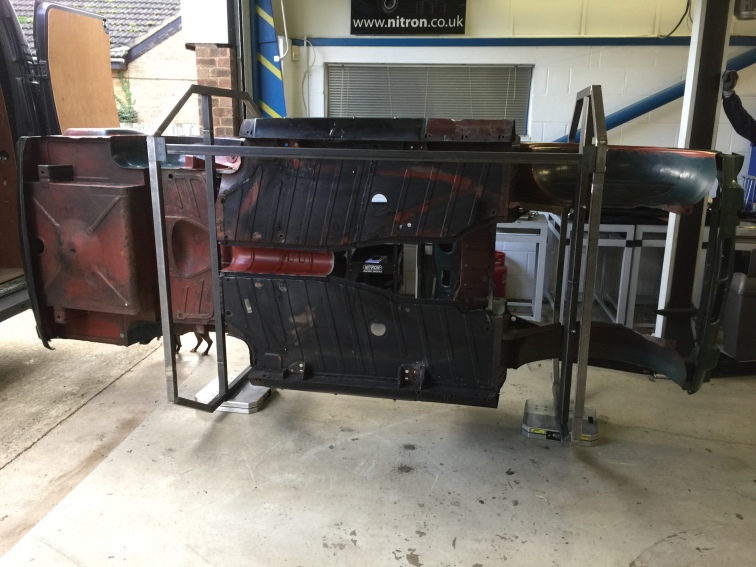
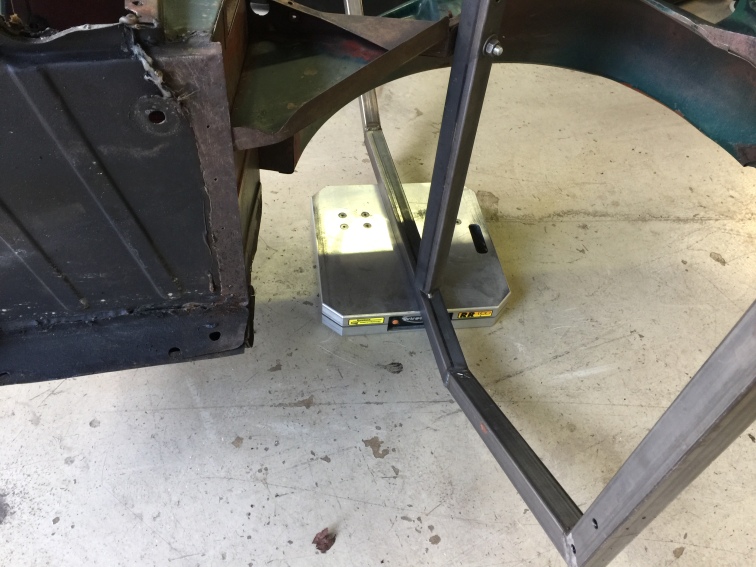
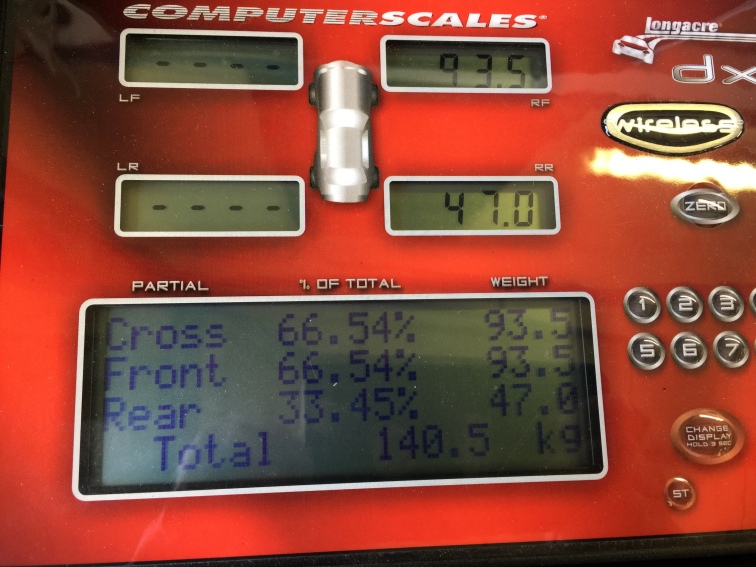
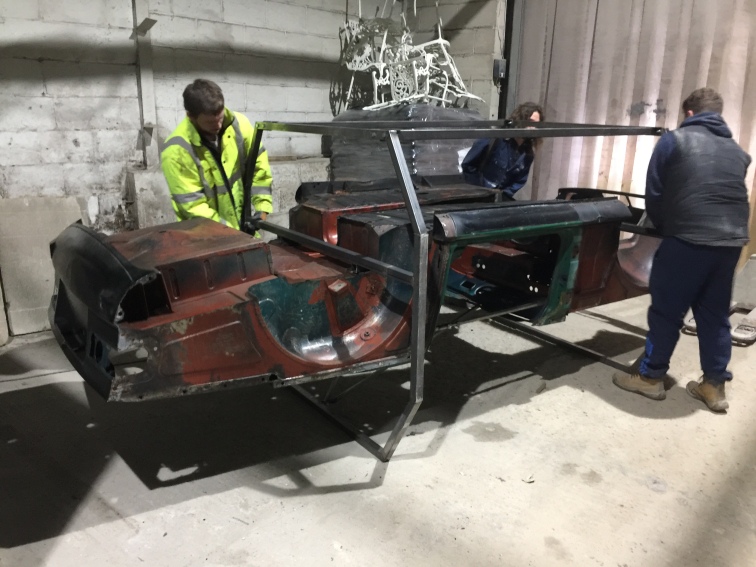
We were interested to see how much the shell and the frame weighed, and once the frame has been removed we will have the net weight for just the shell. She here we are measuring it on our scales:
Coming in at 140.5kg (309 lbs) in total. I think that is pretty light.
With the shell dropped off, it was taken into the blast area waiting for paint stripping!
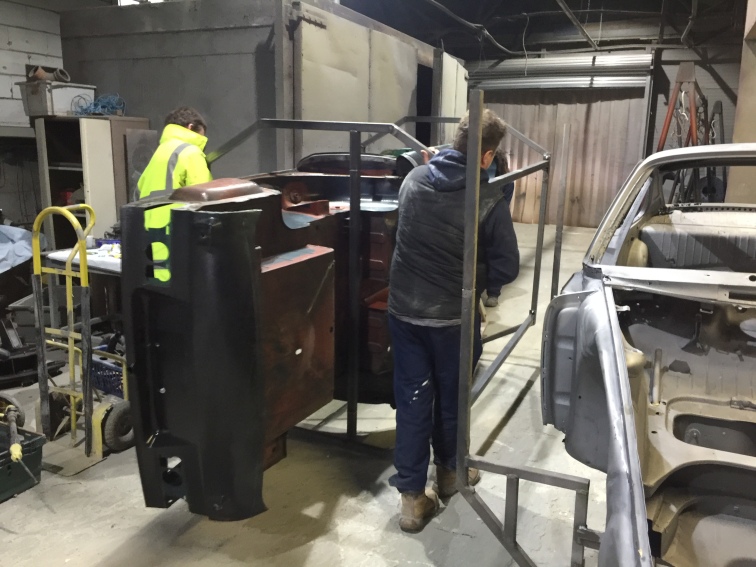
With the panels unloaded I left them to remove all the paint and then etch it to stop flash rusting after blasting.
Next I popped over to see Chris Redfern to chat about the project as I was in the area, and then off the see the gearbox man!
So my plan is to fit a Stag gearbox as it is significantly stronger internally but has exactly the same external appearance. I have also sourced a brand new / never used 25% J-type overdrive unit, so these two mated together should provide a trouble free transmission for years of touring (and the odd track-day…) to come.
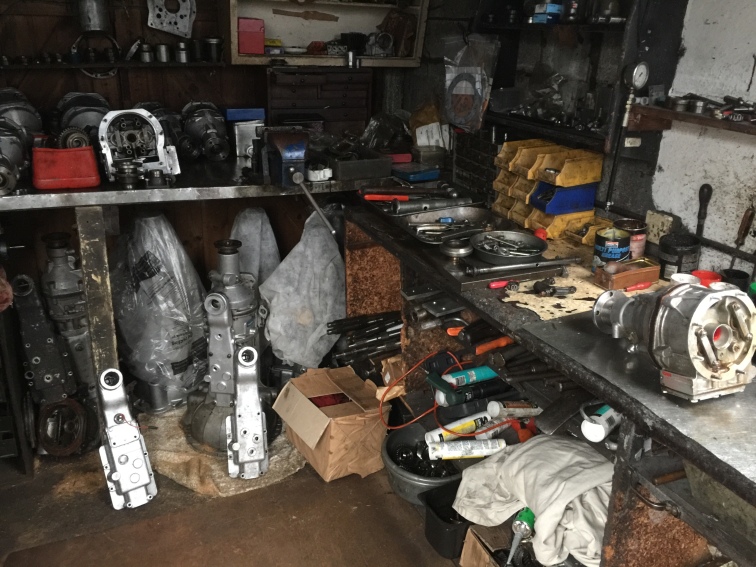
With these boxes, you need to know where to go to get them rebuilt properly. Note the new O/D unit on the bench.

My old box being donated…
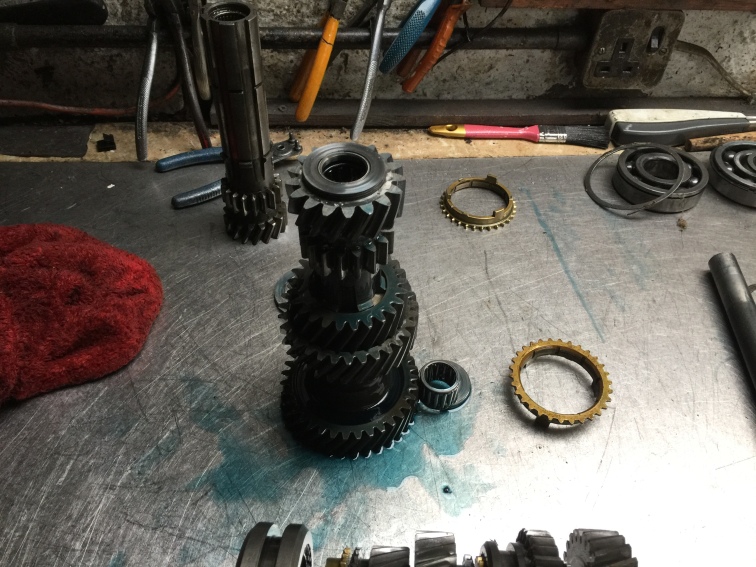
The size of the internals is immediately obviously larger with extra bearings as well. The Stag box does seem like the correct direction to go in, if you can find one. I am going to see how the O/D reduction ratio works with the final drive ratio once the car is up and running, I don’t see the need to change at this stage without trying it first, swapping out the rear diff would seem to be a straightforward job so if the gearing doesn’t suit my use I will change it later.
So the body finally gets blasted and painted with a quick light coat of etch primer, a week late due to the cold weather affecting their other work, but the main part of the shell id finally ready to collect. I drop by Chris’ place first to drop off the bare rolling chassis, the head over to De-corrosion Services to take a look at what they have uncovered.
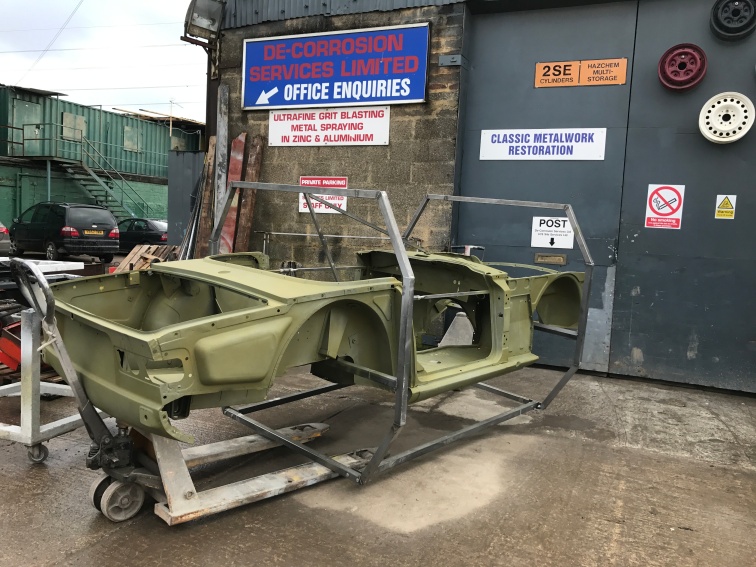
Just out of view on the left I found waiting for blasting a genuine Mk3 427 AC Cobra chassis, they are lucky enough to see some really nice cars through here.
So I manage to get the shell back in the van and off to Chris and drop it off with him. I bolt the wheels to the frame this time which makes it nice and easy for him to move around, they bolt on any of the 4 sides which will be great for working on the shell. We then take a good look at what has been uncovered by the blasters, and although Chris seems very happy it is clear there is lots to do.
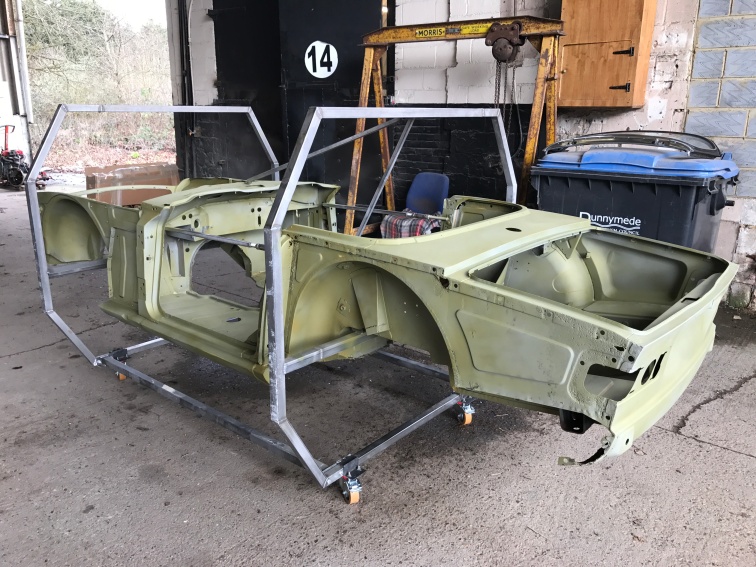
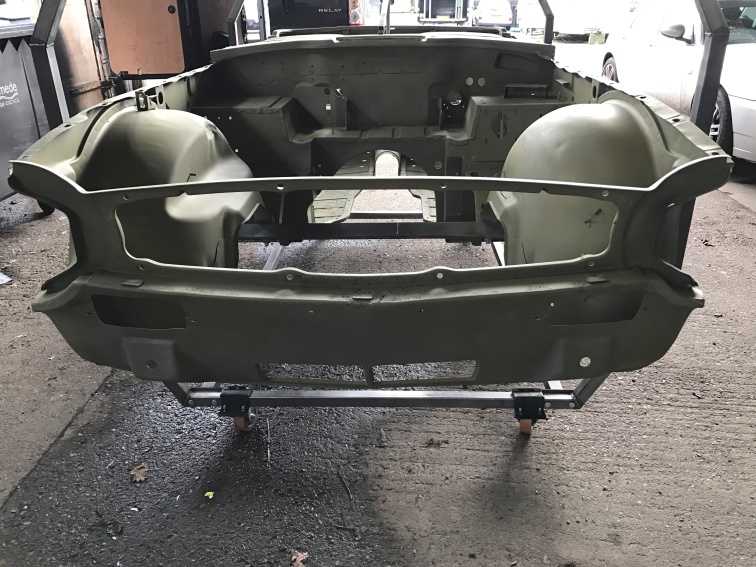
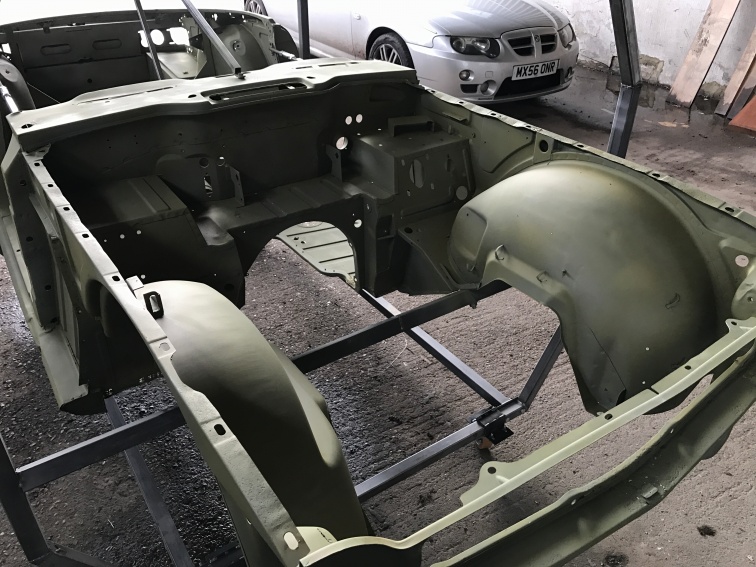
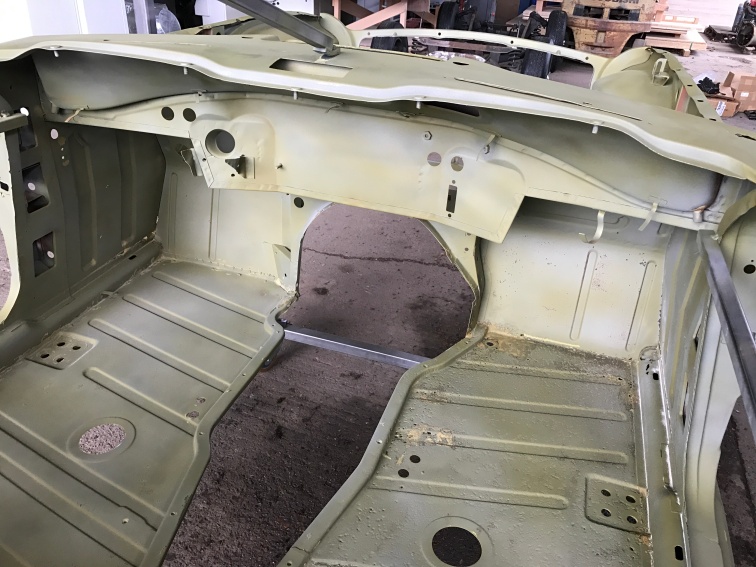
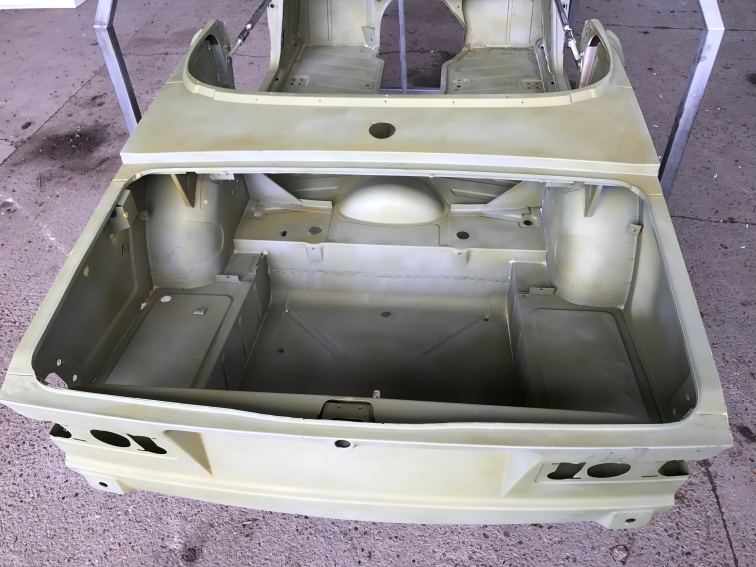
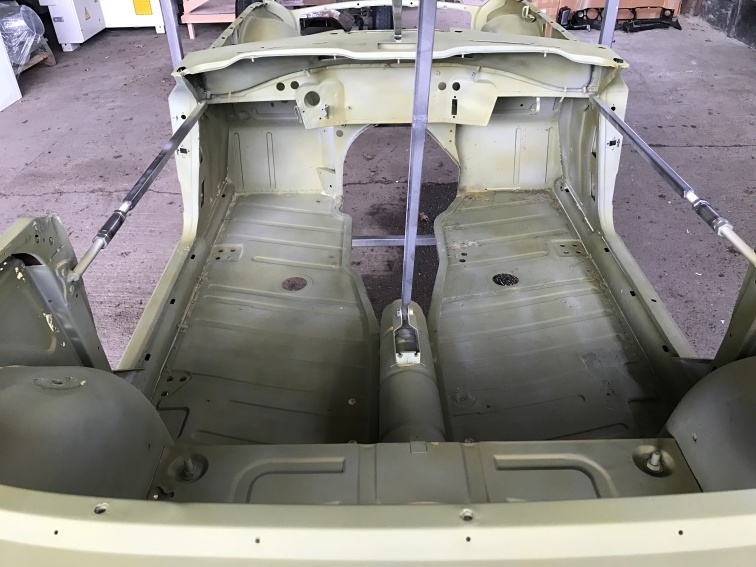
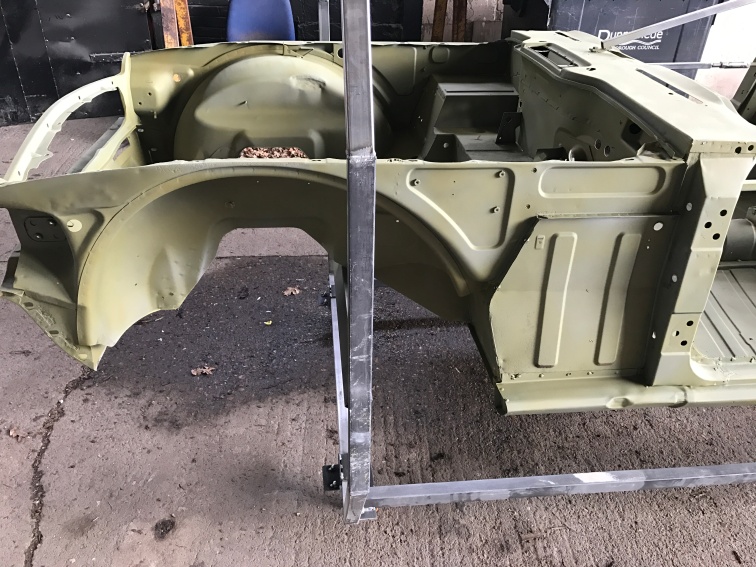
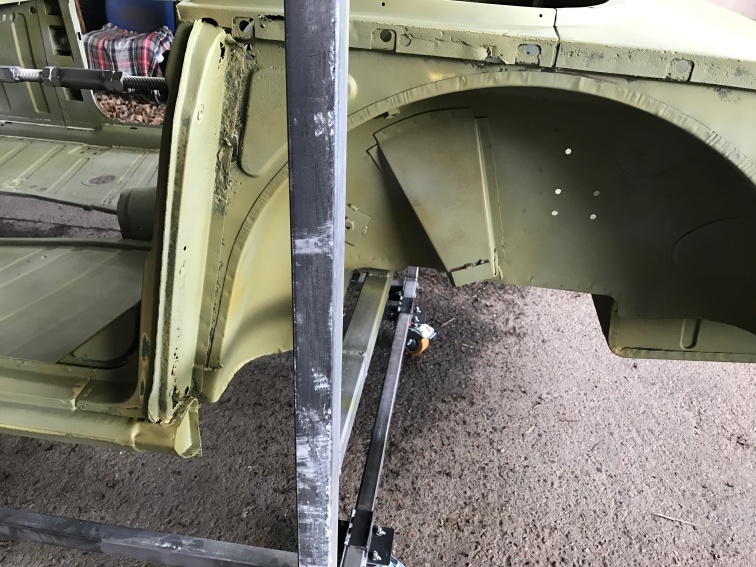
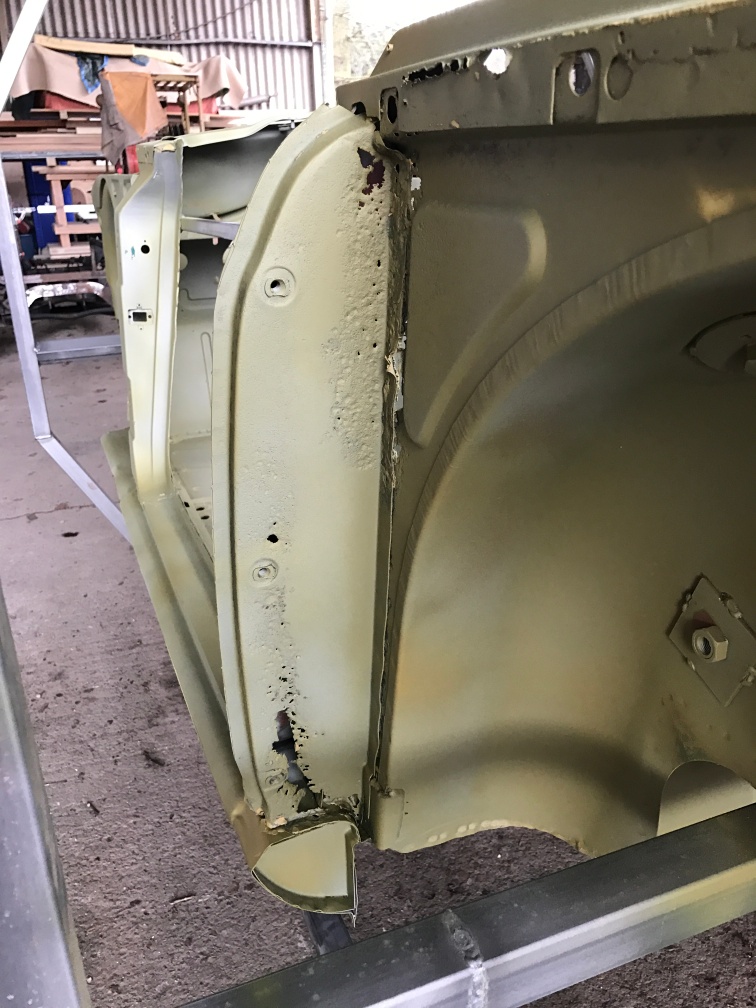
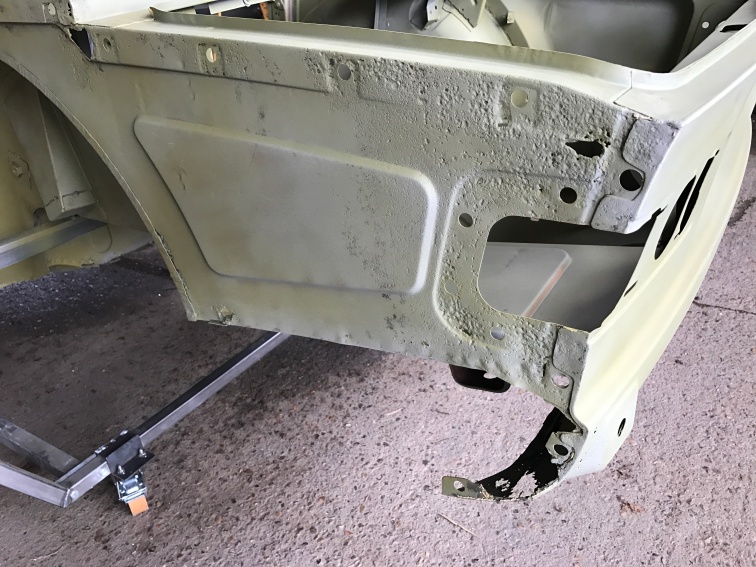
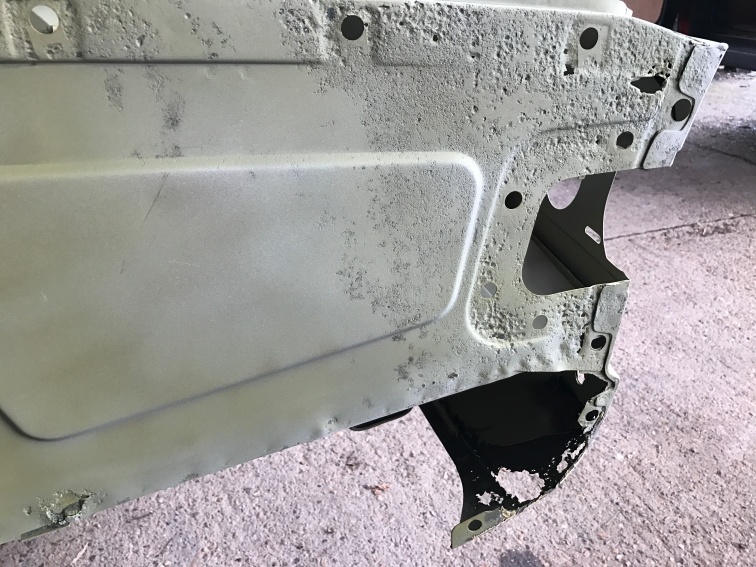
I have already bought new main floor panels, inner and outer sills, rear face of the ‘B’ pillar, but Chris thinks that replacing a few more panels will be the most cost effective, so initially it seems like this will include full front and rear valences and the rear left side inner wing panel, complete. the rest of the shell seems fine apart from under the battery. My decision is to replace rather than repair all these panels as a strong usable car is more important to me than retaining the originality of the panels, especially considering the other changes I will be making to the car.
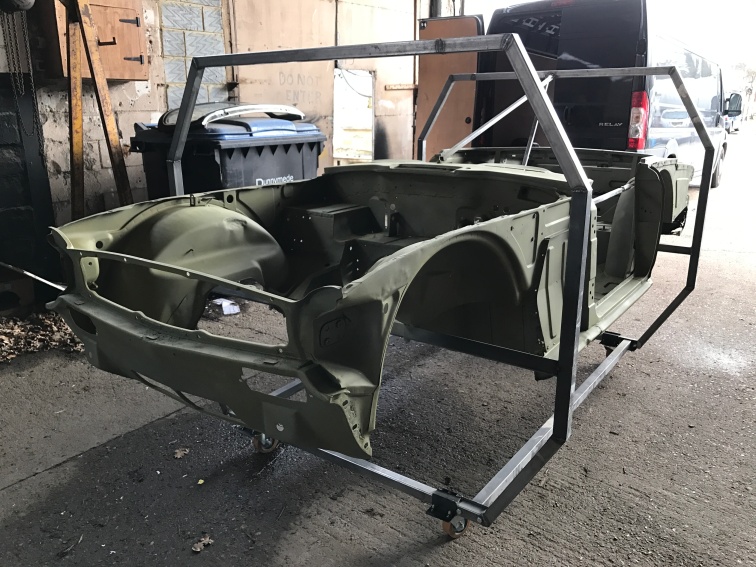
Hopefully Chris will take enough photos to be able to keep this blog comprehensive as the panels are replaced one by one.
